Step 1
Install QGIS Plugin
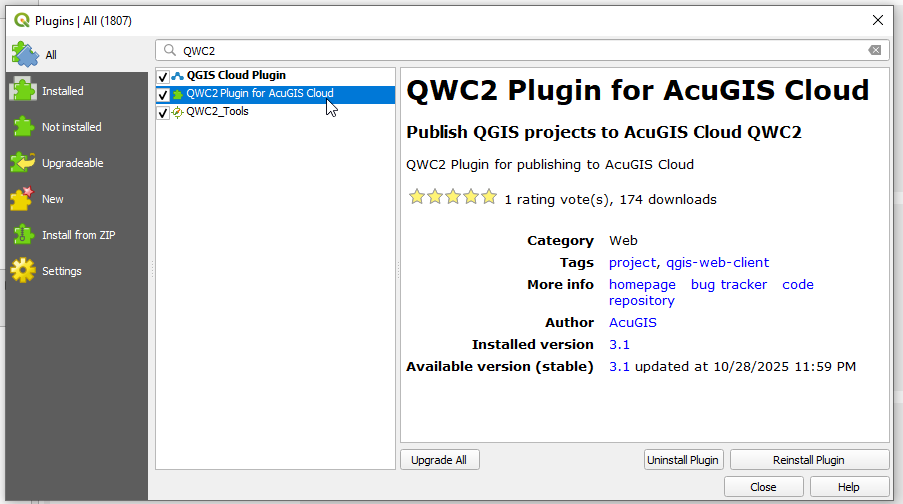
To get started with QWC2 on AcuGIS Cloud, install the plugin in QGIS Desktop.
- Open QGIS Desktop
- Go to Plugins → Manage and Install Plugins
- Search for "QWC2 AcuGIS Cloud"
- Click Install Plugin
Step 2
Enter Your Server Information
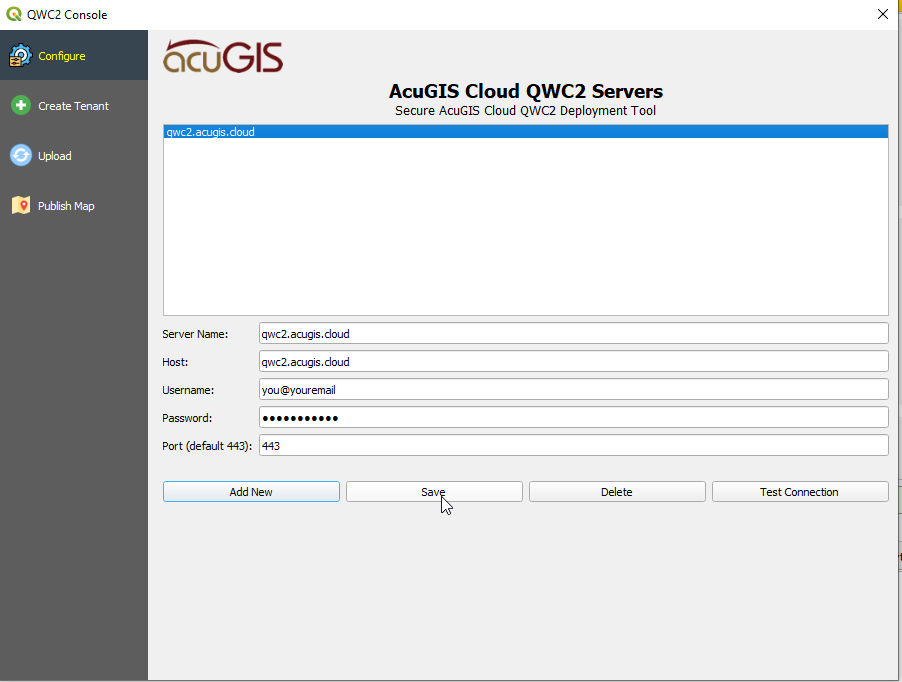
Enter your credentials
- In the QWC2 plugin, give your server a name
- Enter your email and password
- Click Save
- Close the plugin and open it again to insure the server is picked up
Step 3
Upload Project
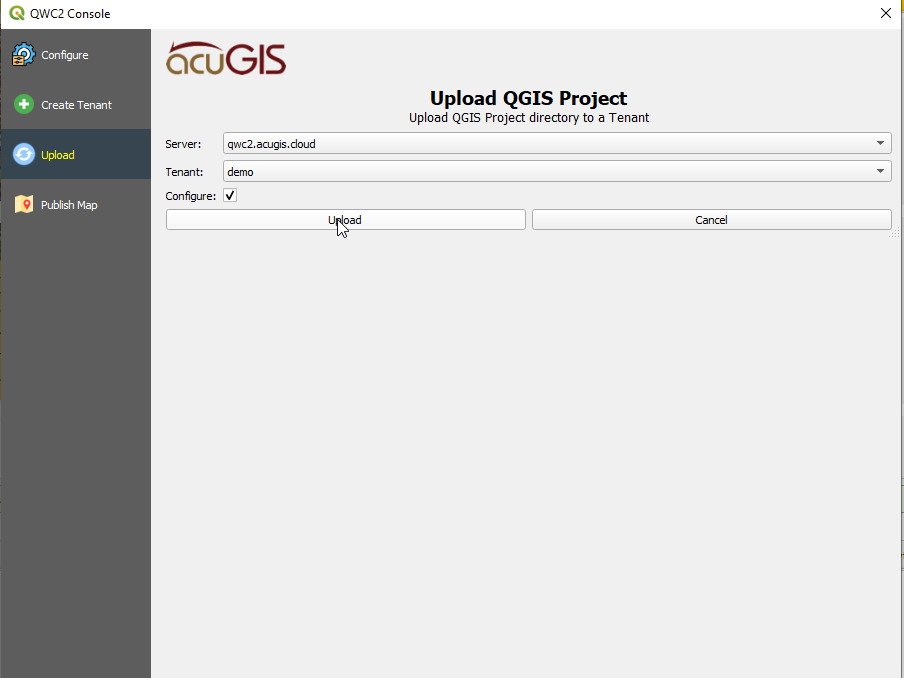
Upload your QGIS Project
- Click the Upload tab
- Check the Configure box
- Click Upload
Step 4
Publish Map
Publish your Map
- Click the Publish tab
- Select your project from the Theme dropdown
- Give your map a name and description
- Grant Public access or restrict to your users
- Click Create

Done!
Your Map is Online!
Your map is now live and accessible onlines.
Your map URL will be provided after publishing. You and your users can also access it via https://qwc2.acugis.cloud
Using PostGIS
Using PostGIS
If your Project has a PostGIS backend, follow below.
- Log into your control panel
- Go to PostGIS > Add New
- Enter your PostGIS service information
- Upload and Publish your Project
Creating a PostGIS Database
To create a new PostGIS database
You can create a new PostGIS database from your data files or an empty PostGIS database.
- Log into your control panel
- Go to PostGIS > Add New
- Enter your PostGIS service information
- Upload and Publish your Project
Need Help?
If you encounter any issues during setup, check out our Support page or visit our documentation.